paper craft bag making
The Art of Making Paper Craft Bags
In recent years, the quest for environmentally friendly alternatives to plastic has led to a resurgence in traditional crafts, one of which is paper crafting. Among the myriad of paper craft projects, making paper craft bags stands out as a fun and practical endeavor. This article will walk you through the process, benefits, and creative possibilities of making your own paper bags.
The Benefits of Paper Craft Bags
Before diving into the crafting process, it's essential to highlight the numerous benefits of using paper craft bags. Firstly, they are biodegradable and decompose naturally over time, making them a sustainable choice for eco-conscious consumers. Additionally, crafting your own bags can reduce the usage of commercially produced bags, which often come with significant carbon footprints due to manufacturing and transportation.
Moreover, paper craft bags come with a unique charm and personal touch that mass-produced bags lack. They can be customized in terms of size, design, and color, allowing for personalized gifts or promotional items that stand out. For businesses, using custom paper bags can enhance branding and create a memorable experience for customers.
Materials Needed
Making paper craft bags requires a few basic materials - Paper You can use kraft paper, recycled paper, or decorative papers depending on your design. - Glue A strong adhesive or double-sided tape is essential for securing the bag’s seams. - Scissors For cutting the paper to the desired dimensions. - Ruler and Pencil For measuring and marking the paper accurately. - Handles (optional) You can use twine, ribbon, or even paper strips if you want to add handles to your bags.
Step-by-Step Guide to Making a Simple Paper Craft Bag
paper craft bag making

1. Choosing the Paper Start by selecting the type of paper based on the bag’s intended use. For example, thicker kraft paper is ideal for heavier items, while decorative paper works well for gift bags.
2. Measuring and Cutting Decide on the size of your bag. A common size is 10 inches tall, 6 inches wide, and 3 inches deep. With these measurements, cut a rectangle from the paper that is 22 inches wide (for the front, back, and bottom) and 10 inches tall. Fold the paper to create the sides and bottom of the bag.
3. Folding Fold the rectangle upward to create the bag's body. To form the bottom, fold a small section (2 inches) at the bottom edge, and then fold the corners inward to create a triangular shape. This will give the bag stability.
4. Securing the Seams Apply glue or double-sided tape along the edges where the folds meet and press firmly to secure them. Make sure all seams are securely attached to prevent the bag from falling apart.
5. Adding Handles If you want to add handles, measure and cut two strips of paper or use twine or ribbon. Attach the handles to the inside of the bag’s opening with glue.
6. Decorating (Optional) If you wish to give your bag a personal touch, consider decorating it with stamps, drawings, or stickers. This can add a unique flair that makes your bag even more special.
Conclusion
Making paper craft bags is a rewarding and sustainable activity that allows you to unleash your creativity while contributing positively to the environment. Whether you need a gift bag for a special occasion or a practical option for everyday use, crafting your own paper bags is an enjoyable process that yields beautiful results. By choosing to make and use paper bags, you are not only enhancing your crafting skills but also promoting a greener planet. So, why not gather your materials and start your paper bag crafting journey today?
-
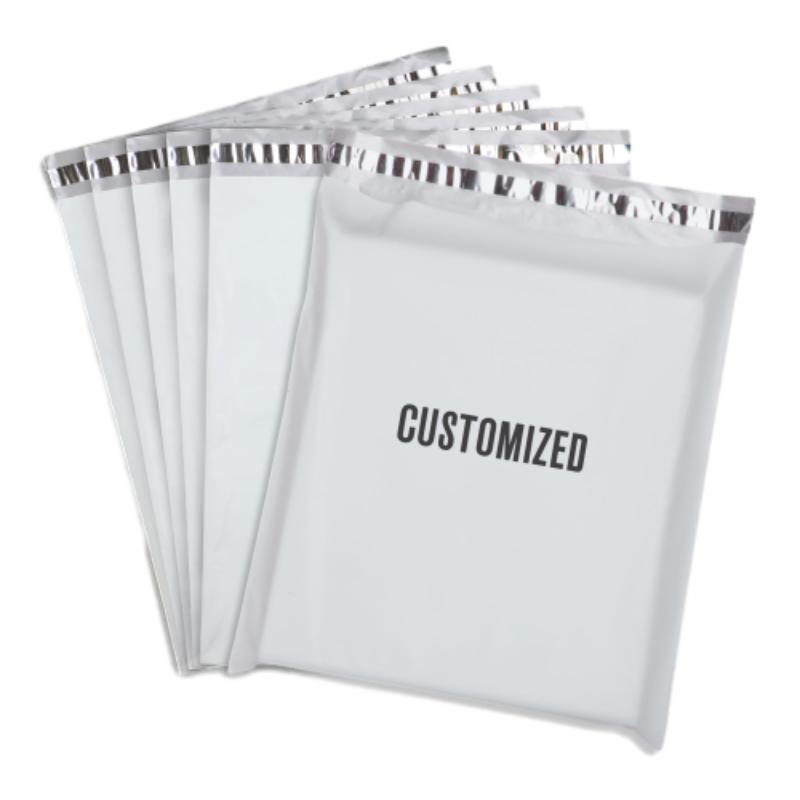
Have the freedom of customizing your custom mailers any way you want! Our dedicated packaging support will help deliver you the mailing experience you need to elevate your shipping experience to the next level! Start making a strong impression on your customers and stand out from your competitors! -
LIYA uses high quality raw materials which directly purchased from large enterprises domestic and overseas such as PetroChina, Sinopec, Sabic, Equate, ExxonMobil, Dow Chemical, Total, and Borouge, ensuring the price advantage and quality of the raw materials. -
LIYA uses high quality raw materials which directly purchased from large enterprises domestic and overseas such as PetroChina, Sinopec, Sabic, Equate, ExxonMobil, Dow Chemical, Total, and Borouge, ensuring the price advantage and quality of the raw materials.


